How To Test Your Microphone In Windows 10
The microphone is quickly becoming one of our computer’s most important peripherals. With more and more meetings, conferences, classes, and get-togethers happening online, you need to make sure that people can hear you clearly. Here is how to test your microphone in Windows 10.
How To Test Your Microphone In Windows 10
We will test our microphone in two ways. First, we will check we have the proper microphone setup and that it is picking up audio. Then we will test the quality of the sound.
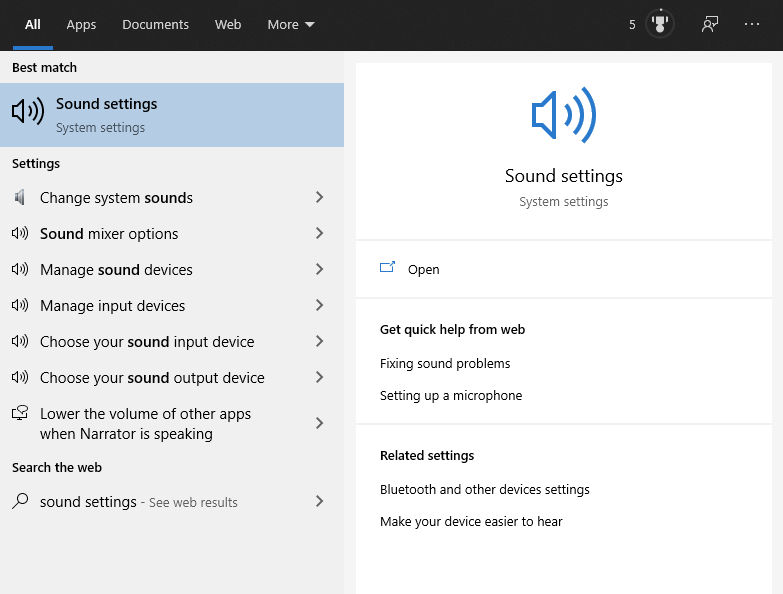
In order to check which microphone we have setup we will first need to get into our Sound Settings.
- Hit the Windows Key
- Type Sound Settings
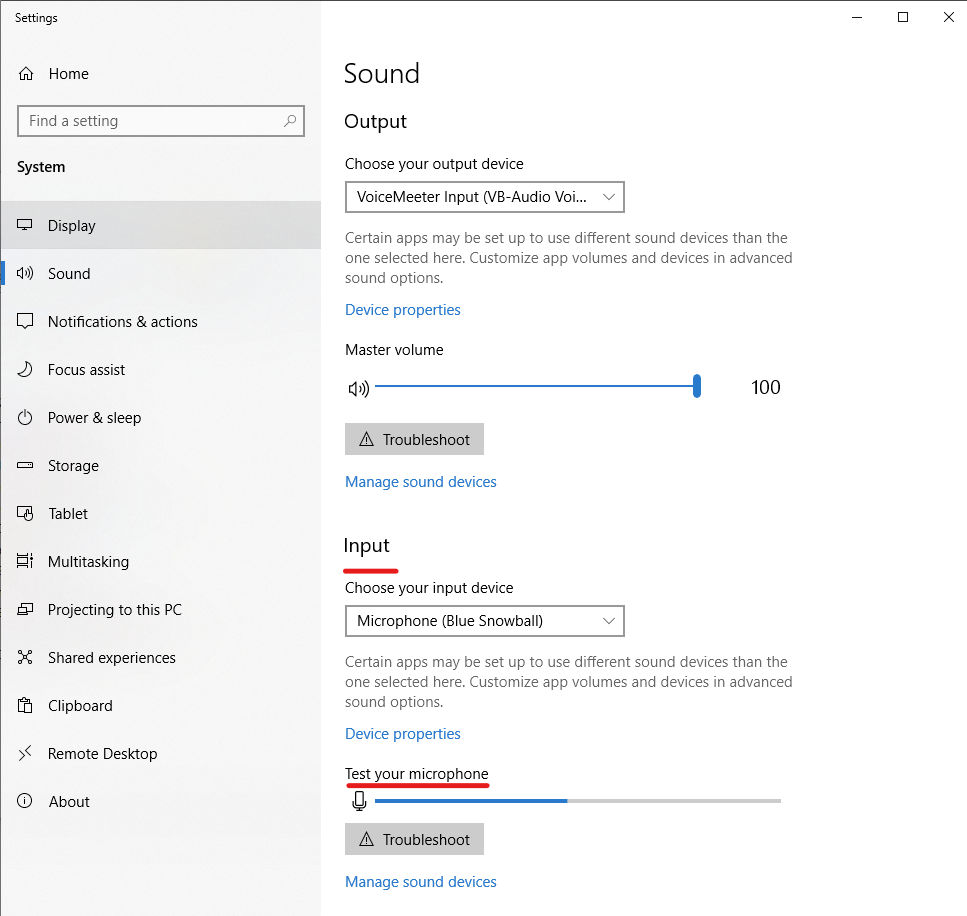
- Under Input, make sure your microphone is selected from the dropdown menu.
- Speak directly into your microphone and look under Test your microphone. If your microphone is picking up audio, you should see a blue bar jumping around.
The blue bar moving around only tells us that our microphone picks up audio, but it does not tell us how that audio sounds. It could be distorted, crackling, or too low. Let’s test our microphone further and check the audio itself.
Check Your Microphone Audio Quality
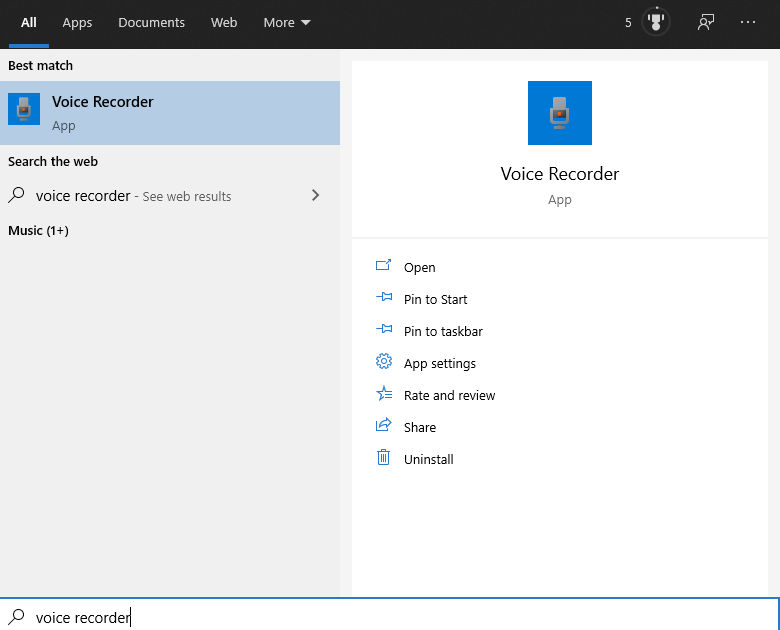
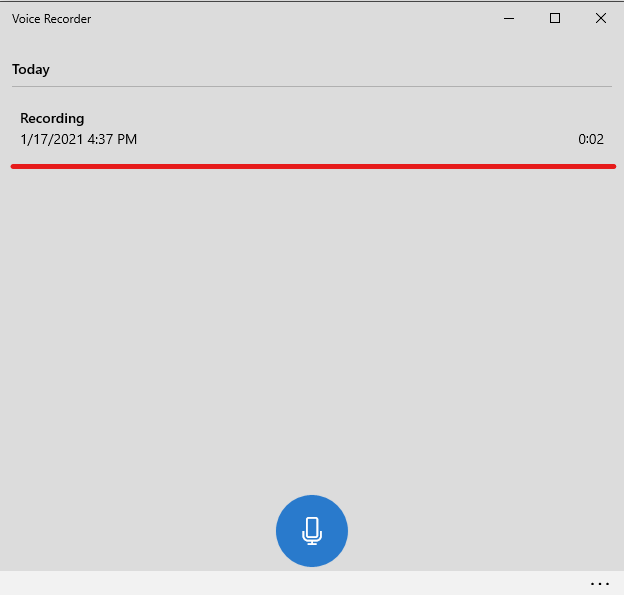
Checking the audio of your microphone is simple. We can use the built-in Windows 10 voice recorder.
- Hit the Windows Key
- Type Voice Recorder
- When the Voice Recorder program opens up, click the blue microphone icon and record yourself speaking into the mic. When you are done recording, hit the blue stop icon.
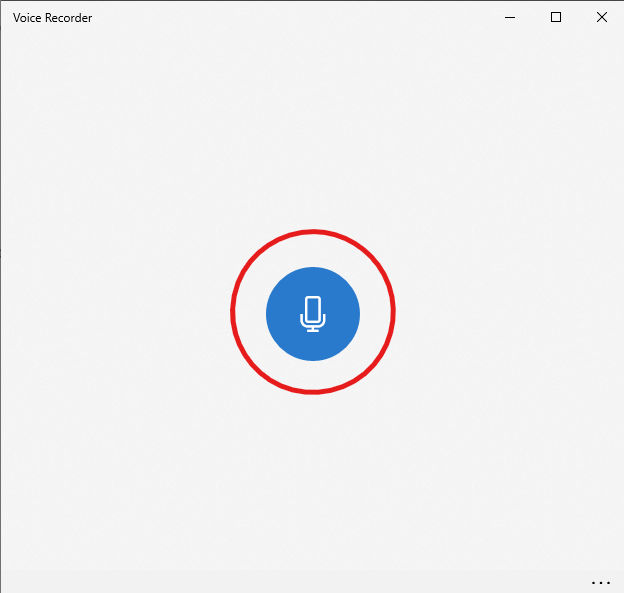
- When you stop the recording, it will be saved and show up as “Recording” go ahead and click the latest recording and give it a listen.
Now you know how to test your microphone in Windows 10. If you have issues with the recorded sound, check your connections and make sure the microphone’s wires aren’t loose. Particularly where it connects to your computer.
Check out some of our other Windows 10 How-Tos


