How to Create a Local Account on Windows 10
If you have multiple users on a computer, it’s always a good idea to create multiple accounts. Different accounts for different users will help separate apps, personalization settings, browser settings, and much more. There are numerous ways to set up these accounts, but we will show you our preferred method. Here is how to create a local account on Windows 10.
How to Create a Local Account on Windows 10
Here is our preferred method to create a local account. Although it may seem more complicated, in our minds it’s actually more straightforward in the long run.
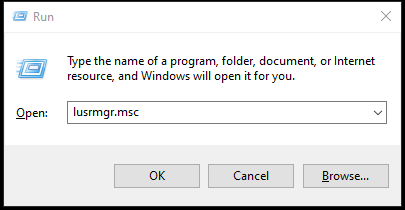
- Hit the Window Key + R
- In the Run box type lusrmgr.msc
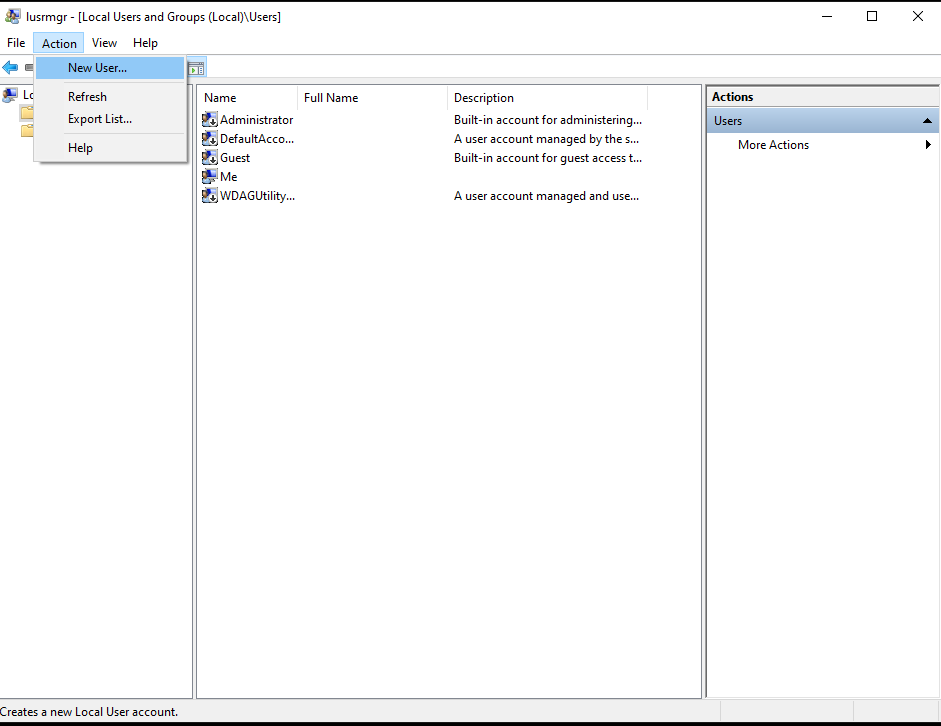
- Double click on Users
- On the top bar click Actions and New User…
- In the New User box add a User Name and Password
The bottom options are optional. You can force the user to change their password on their first login. Typically we just set Password never expires, and that’s it.
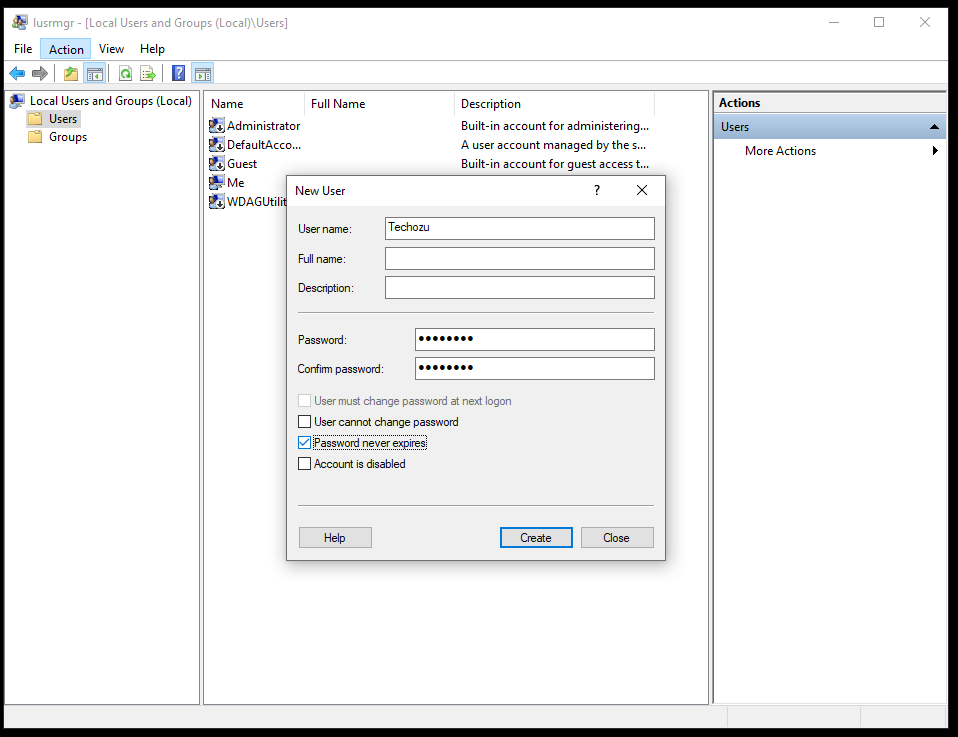
- Click Create
Now you have a new user. You can log out or switch accounts and have the new user login in. Windows 10 will take a little extra time on the first login to set up the account, but it will log in after that.
How to Make a User an Administrator
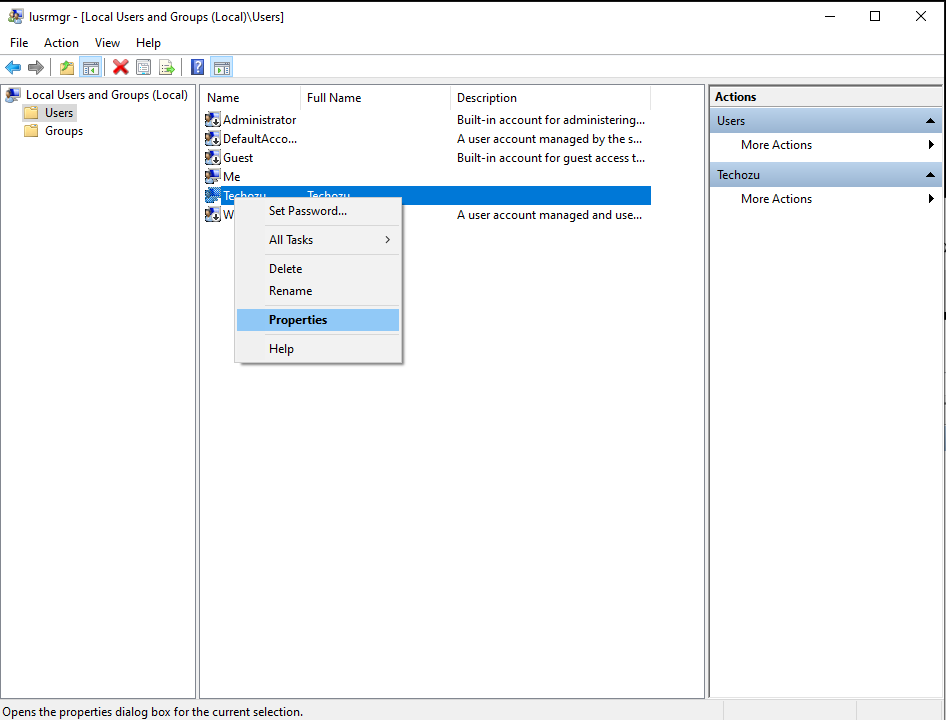
Your newly created user will have generic user permissions. Depending on who this user is, you might want to give them administrator rights to the computer. Of course, always be careful when assigning any account admin rights.
- Right-click on your new account and hit Properties
- Click the Member Of at the top
- Click Add
- Under “Enter the object names to Select” type Administrators
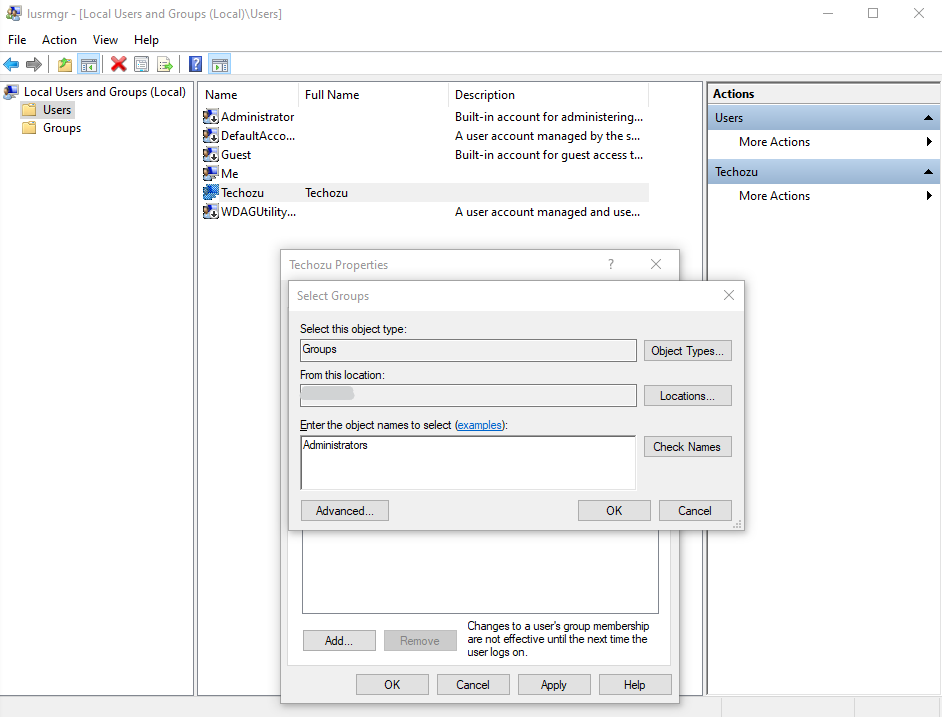
- Hit Apply and OK
That’s all there is to it. Know you know how to create a local account on Windows 10. You can add as many accounts as you like, and you can also delete or disable these accounts from the same screen.


