How to Separate Audio Sources in OBS (2022)
Stop your audio from overlapping and separate your audio sources in OBS.
Since the release of OBS, users have been very vocal about their need for one specific feature. The ability to separate audio sources in OBS seems like it would available to us by default. The software feels like this feature is almost at your fingertips, but unfortunately, we will have to jump through some hoops to get our OBS setup for isolated audio.
The Problem: Audio in OBS is on a mixed channel
By default in Windows, all of your audio sources will be mixed into one channel. Generally, we never think twice about this, but this could be a problem if you do any recording or streaming via OBS. Imagine you were going to record a gameplay video while listening to music in the background. You don’t want the music in your video, but the audio channels are mixed, so how can you isolate the audio sources? Before, we used to need complicated and frankly unstable programs like VoiceMeter. Luckily we can now achieve this with a straightforward and easy-to-install plugin.
The Solution: The win-capture-audio OBS Plugin (Updated)
To isolate our audio sources in OBS, we will be using a plugin called “win-capture-audio.” This plugin will add a new source to our OBS that will let us choose the audio from a specific program. Let’s run through the installation procedure.
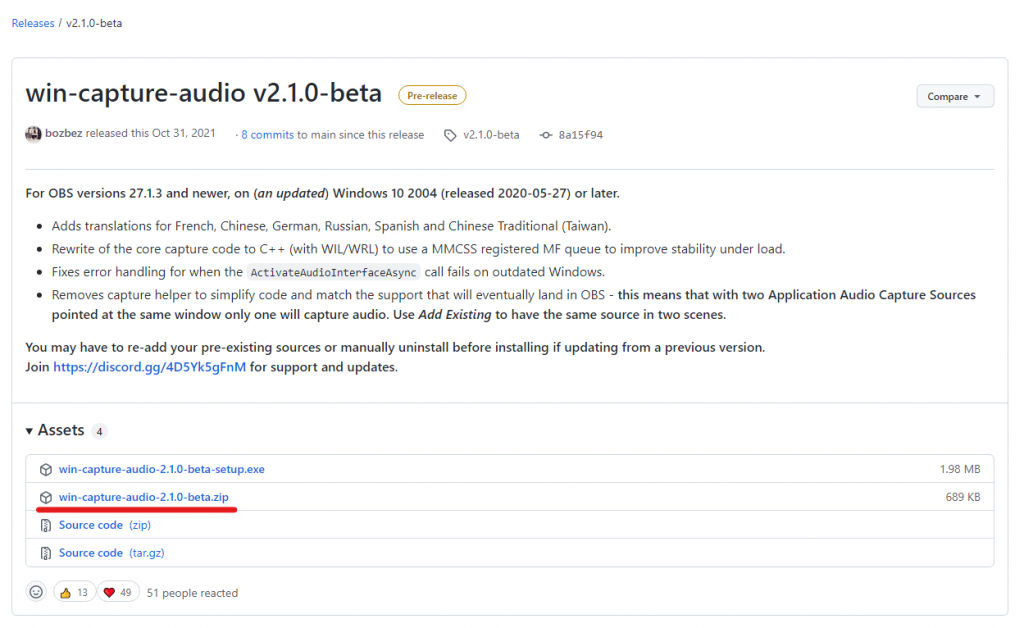
- Download the win-capture-audio plugin
- From the releases page, click on the most recent release of win-capture-audio.
- Download the .zip version. You can also download and install the .exe version with less hassle but our recommendation is to avoid third-party installers whenever possible. Unzipping files directly into your OBS installation location is the safer option.
- Extract the .zip files
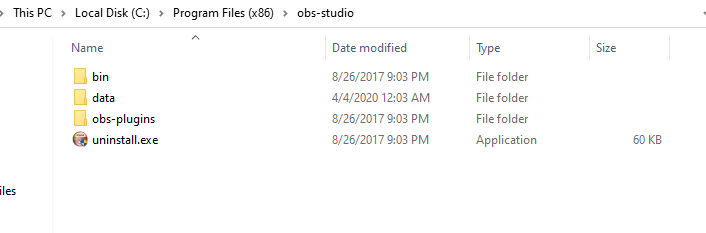
- Copy the .zip files to your OBS Installation location
- You will unzip a data and obs-plugins folder. You need to copy these folders into your OBS installation folder. Typically this folder is found at C:\Program Files (x86)\obs-studio, but your location may differ.
- Open OBS
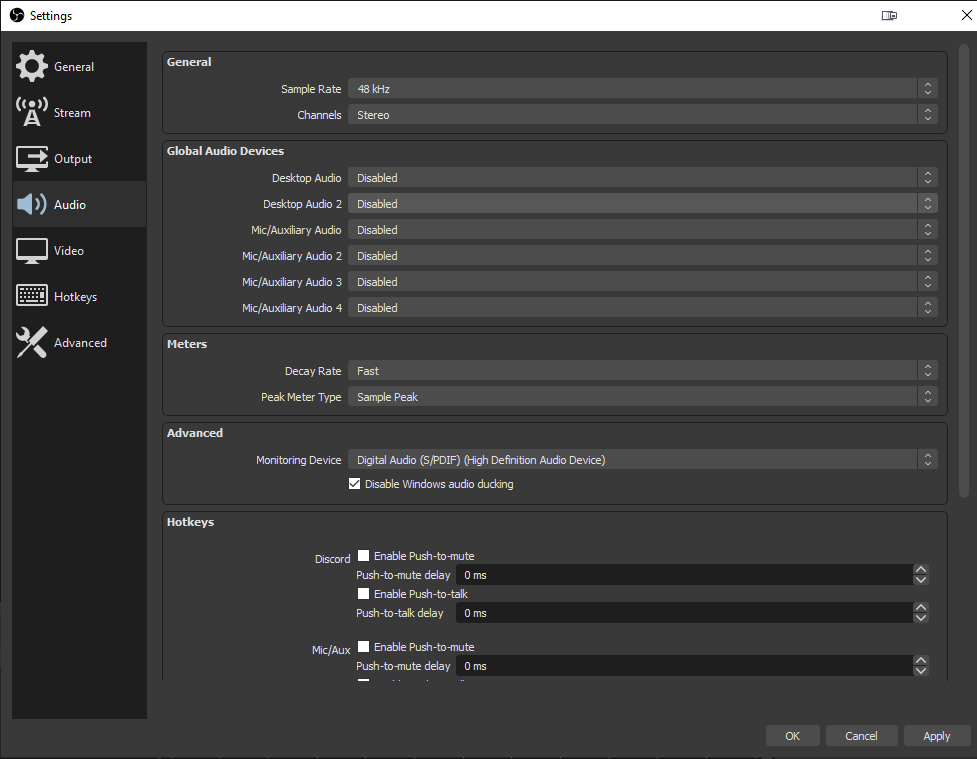
- Disable all of your Global Audio Devices.
- In OBS go to File -> Settings -> Audio and disable each of the Global Audio Devices. This will create a clean slate for us to work with and insure that we don’t get any unneeded audio caught in our videos.
- Launch your Audio Source
- Launch your game or whatever program you will want to capture audio from. In this example, we will be capturing game video and audio from No Man’s Sky. Your program can be a Chrome window, Discord, Spotify, VLC or any other program that is producing audio.
- Add An Application Audio Output Capture Source
- Under Sources, click the plus button and choose Application Audio Output Capture.
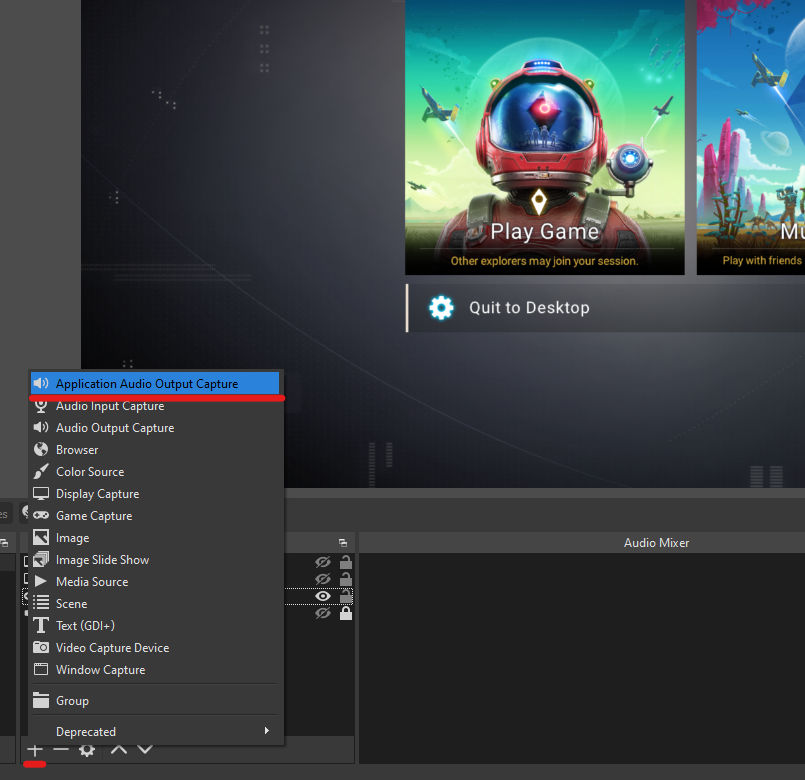
- Name your new Source
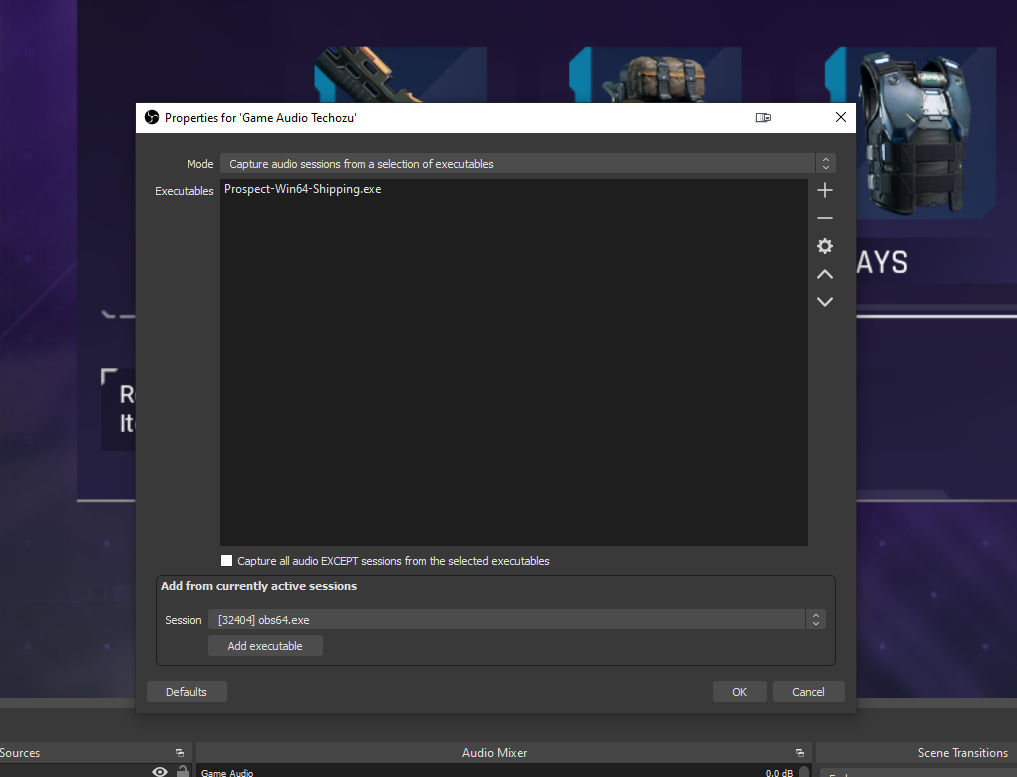
- Under sessions, find your game and click “Add executable”
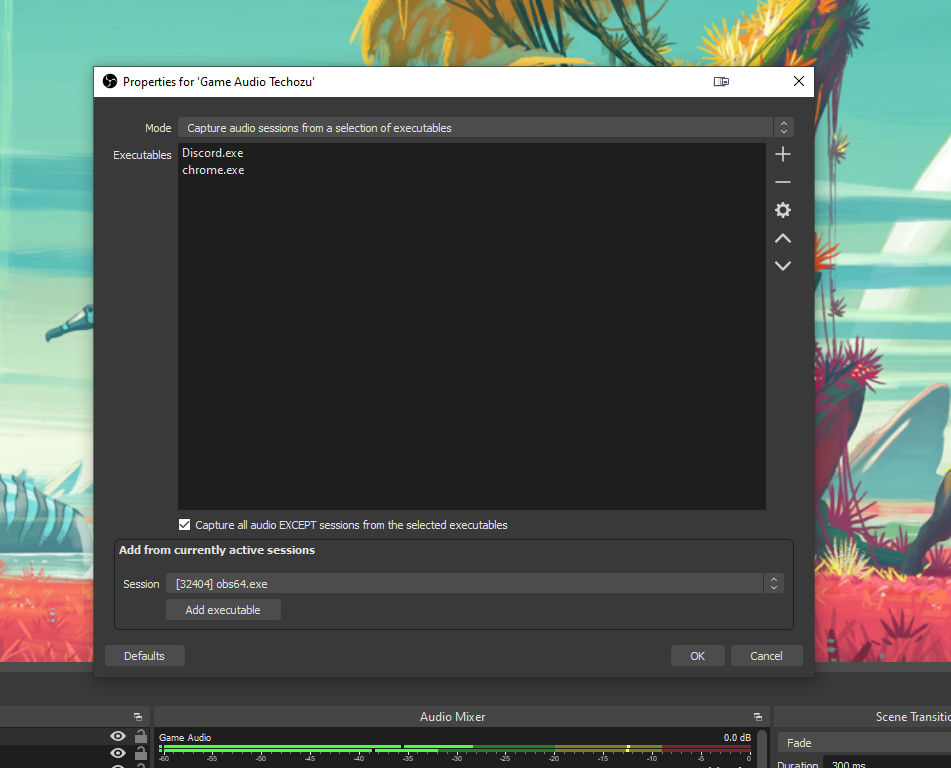
- Alternatively, if you would like to exclude specific programs and allow everything else. Check “Capture all audio EXCEPT sessions from the selected executables” This will allow you to filter out programs such as Discord and Chrome from your audio source.
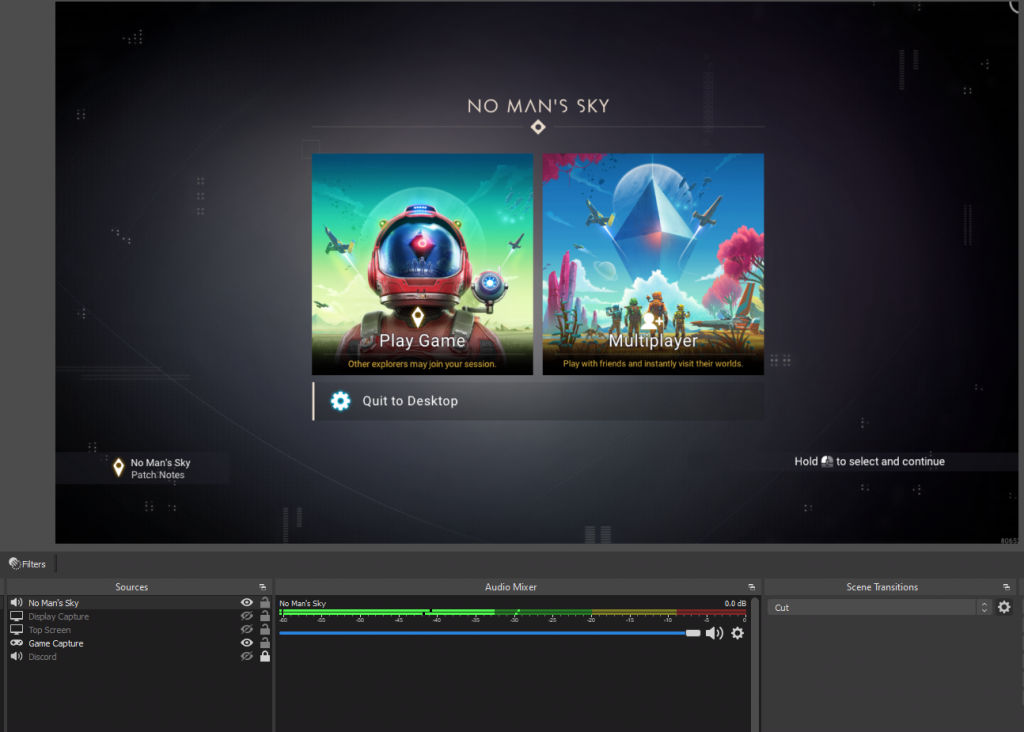
That’s it! Your new audio source will now be visible in the audio mixer. This source will be completely isolated from your general computer audio output. You can add as many sources as you like. For example, if you want to add your Discord voice chat to your video, you can simply add another Application Audio Output Capture source for Discord. The audio mixer will also allow you to control the volume for each individual source.
I’m Having Issues with the win-capture-audio Plugin
If you are having trouble getting the win-capture-audio plugin to work, you may have to update Windows. This plugin relies on some dependencies that are only available in the Windows updates. Check out our updating Window 10 guide for some help with the update process.
We hope you found this guide helpful and easy to follow. This post will be updated if anything changes in the process or if a better solution is made available in the future. Hopefully, OBS will add this feature natively at some point but for now, we are grateful to the win-capture-audio plugin developers of the win-capture-audio plugin for providing us with a solution in the meantime.


