How to Create a Zip File in Windows 10
Creating a Zip file in Windows 10 is very simple and straightforward. Zipping files together gives you many advantages. Firstly it reduces the total space the files would have consumed together individually. It also makes managing the files similar since they will be grouped into one big file. There are multiple ways we can zip a file. Let’s take a look at How to Create a Zip file in Windows 10.
How to Create a Zip File in Windows 10
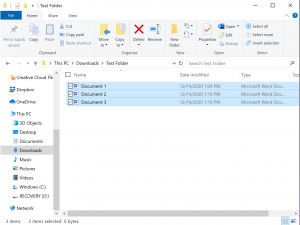
The first way to create a zip file is effortless. Make sure you have the File Explorer open, and you have navigated to the files you would like to zip.
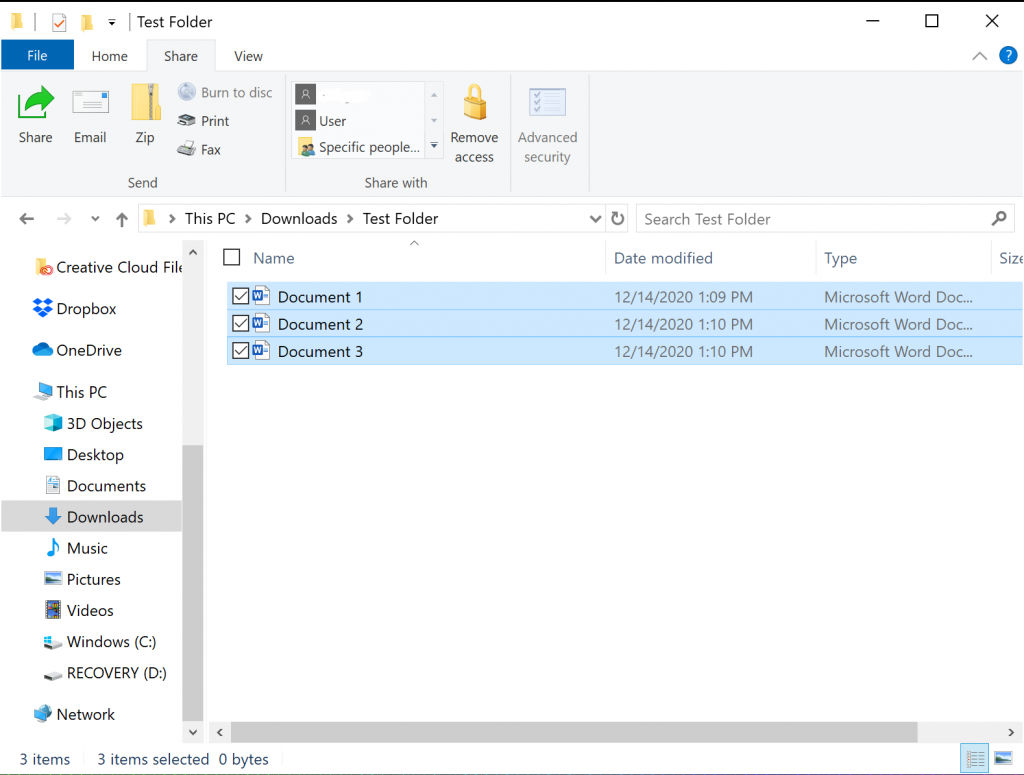
- First, highlight all the files you wish to zip together.
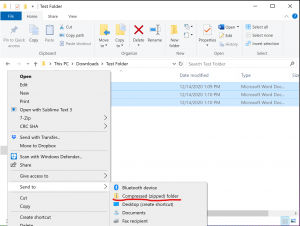
- Right-click on them and got to Send To -> Compressed (Zipped) Folder
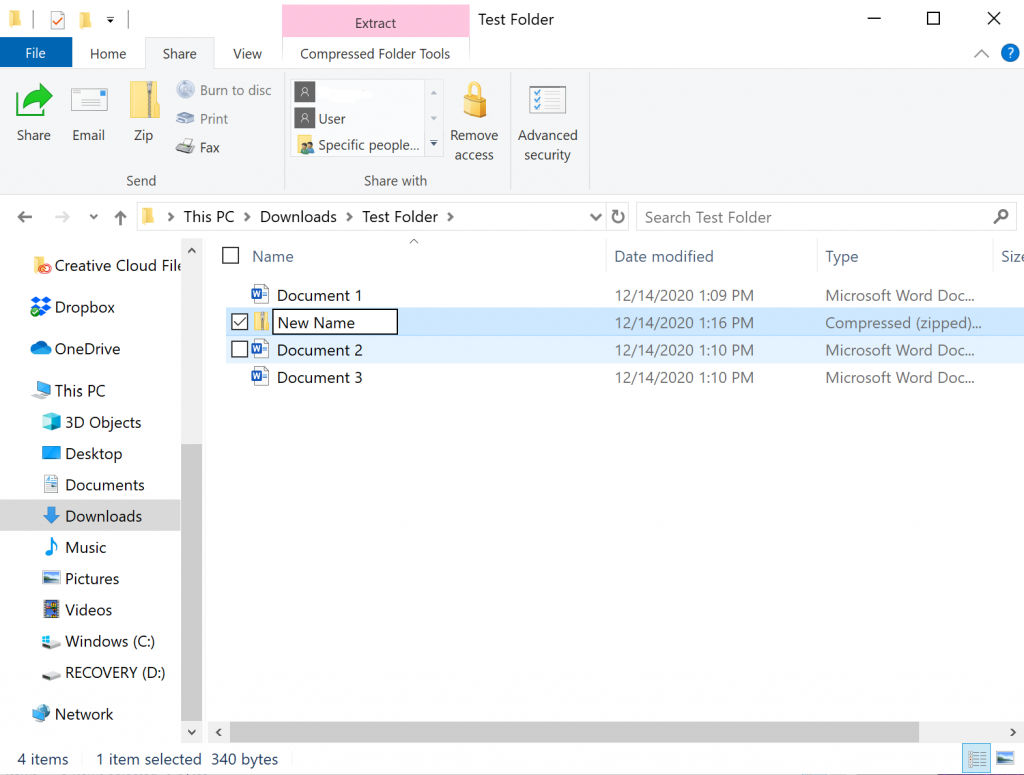
- Rename the file if you like.
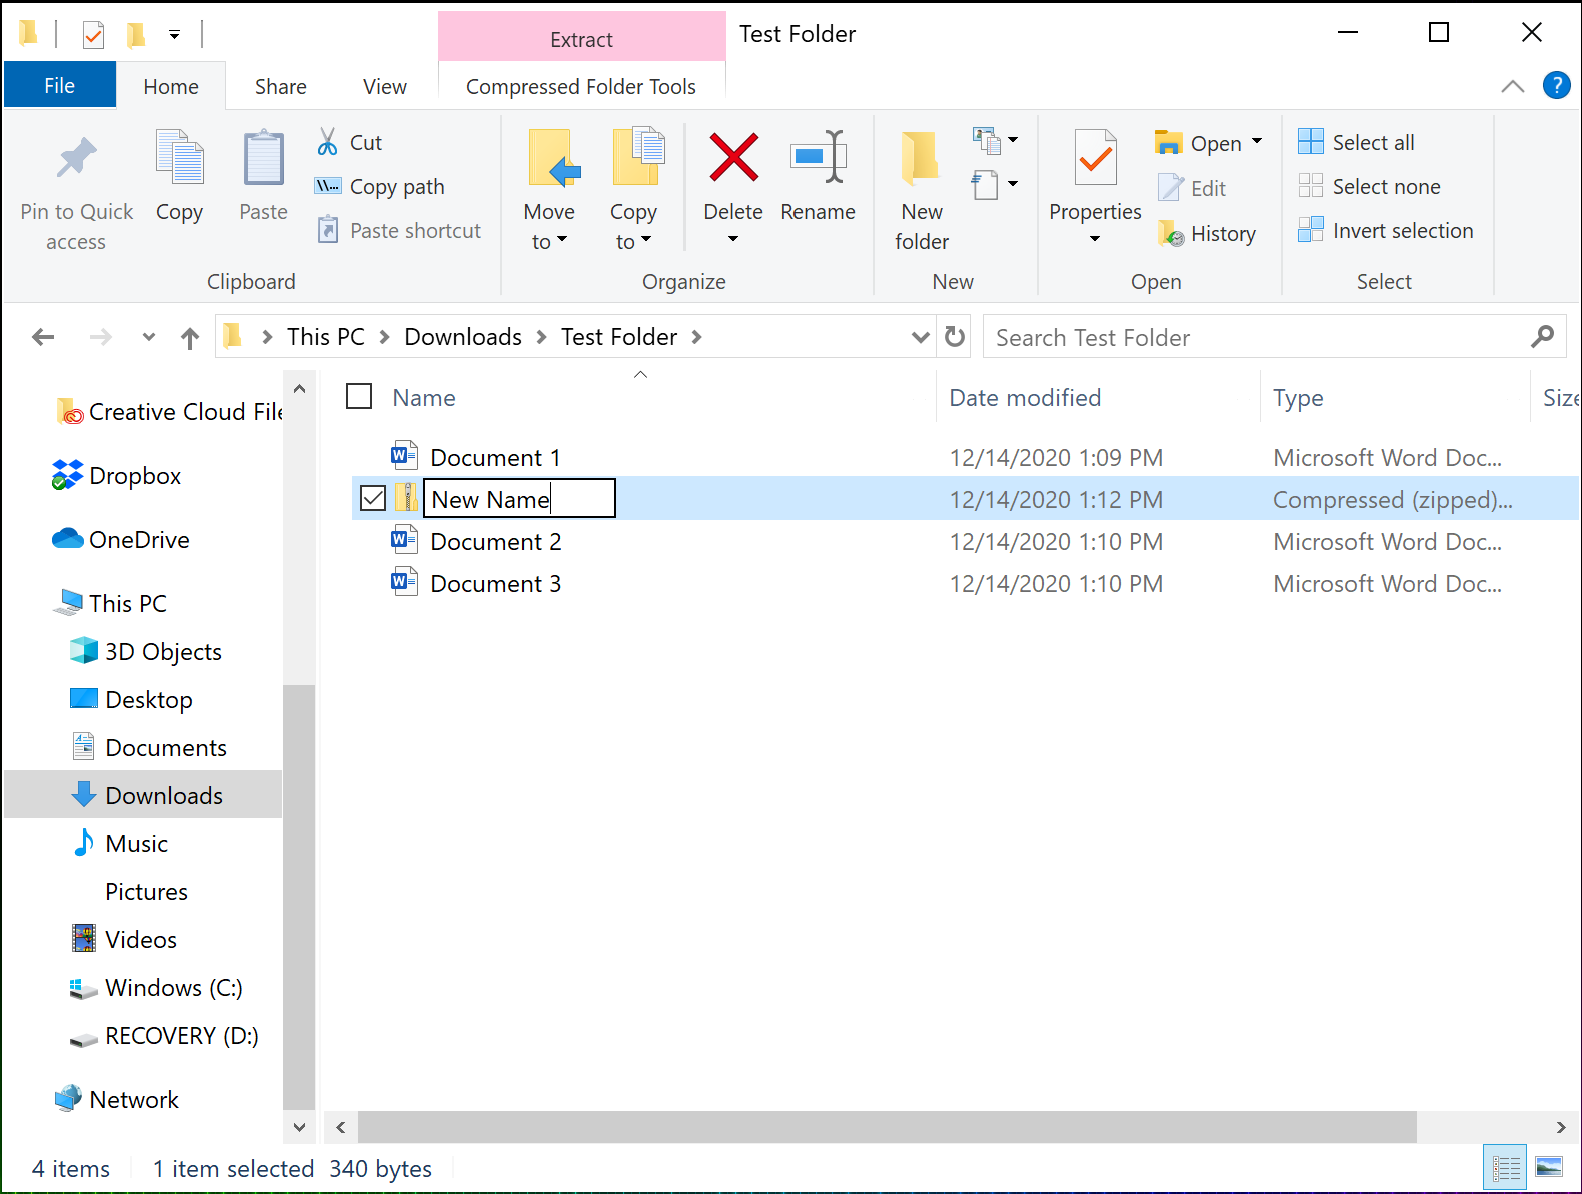
That’s it! It’s that easy to create a zip file.
Use the Task Bar to Create a Zip File in Windows 10
You can also use the top taskbar to create, although this takes slightly more steps.
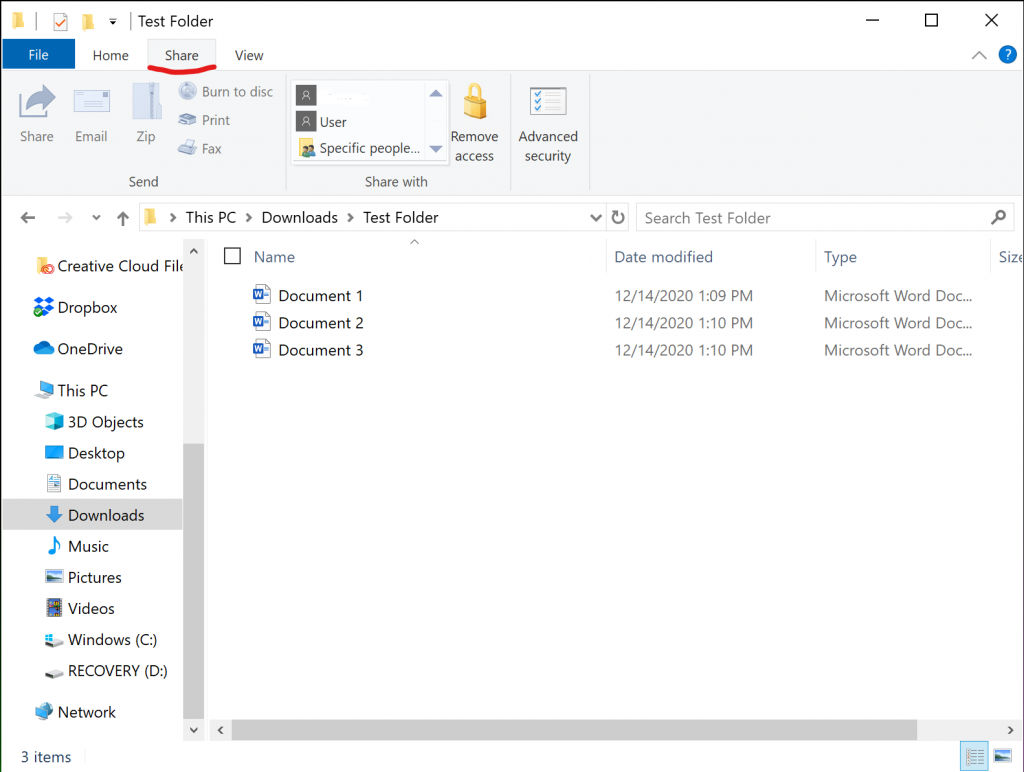
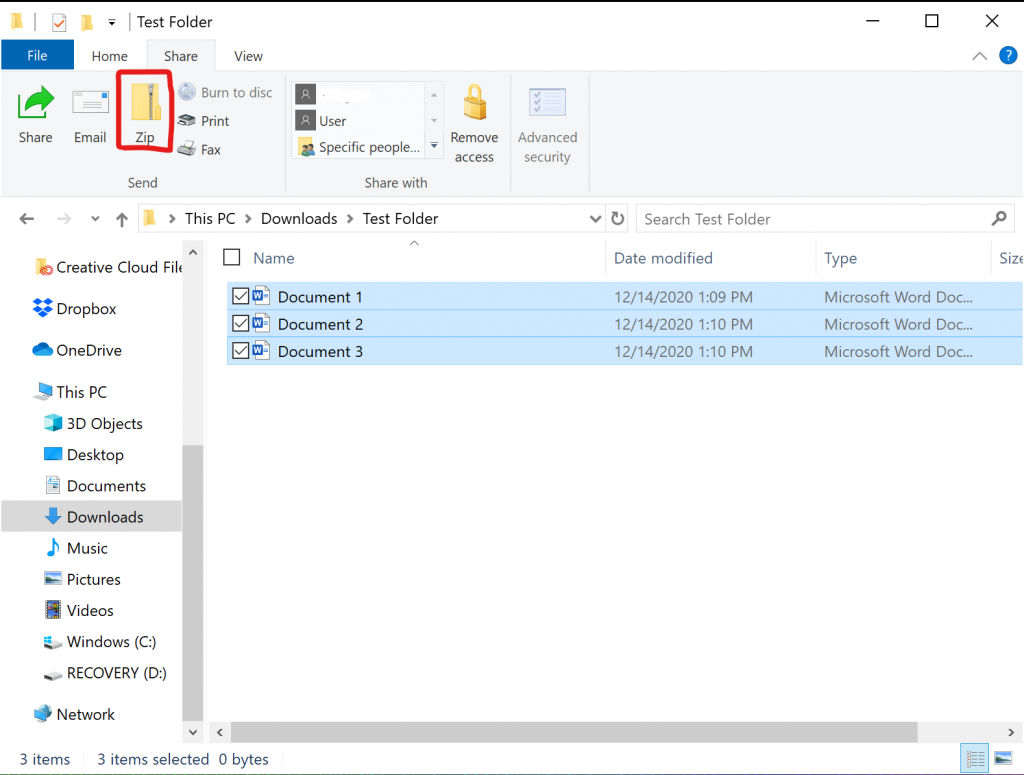
- At the top taskbar, click on the Share tab
- Highlight all the files you want to zip.
- Click the Zip button on the top taskbar.
- Rename the file if you wish.
Now you have two ways to easily create zip files.
Add Files to a Zip File in Windows 10
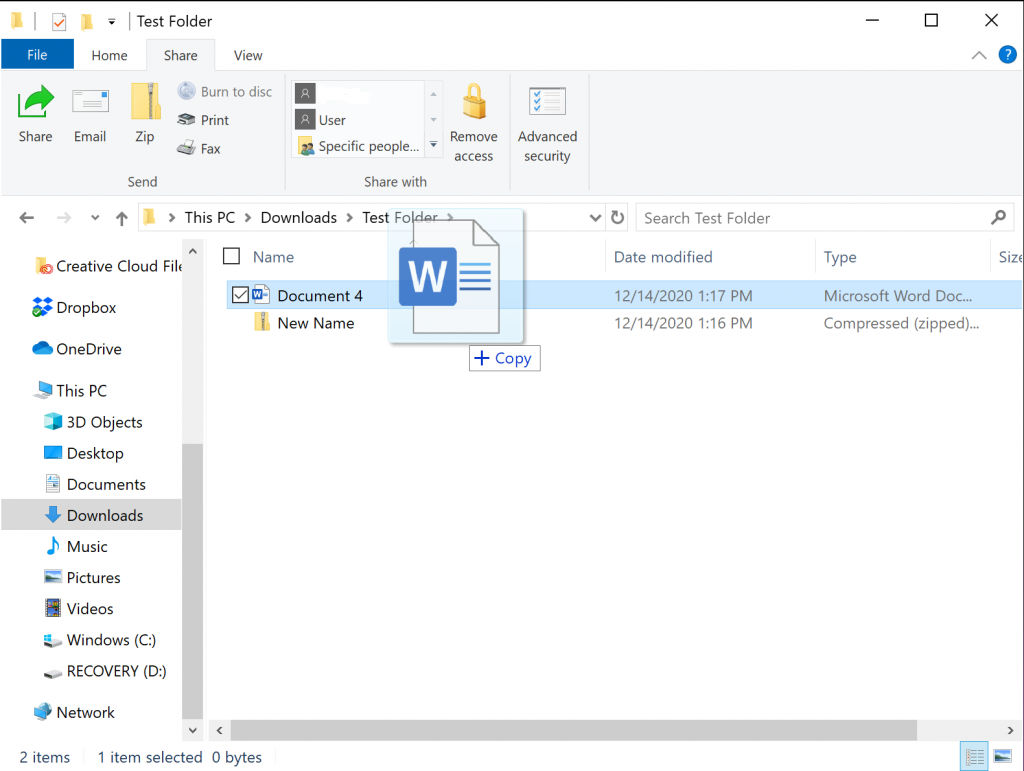
Windows 10 has another great feature that allows us to add files directly to an already zipped file. Before, we would have to unzip the file and then rezip it again with the additional files included. Now. all we have to do is drag and drop!
To add files to a zip file, drag and drop your files directly into the zip.
That’s all there is to it. Now you know how to create zip files in Windows 10 and also how to add files to existing Zips.


