How to Convert HEIC to JPG on Windows (Easy Method)
The High Efficiency Image File Format, or HEIF for short, is steadily being adopted across multiple platforms. As a result, more files using this container format will have the associated HEIC extension on them. The HEIC format provides many benefits, such as smaller file sizes with better image quality. However, in many cases, users will still need to convert HEIC to the more popular image formats such as JPG. Let’s take a look at how to convert HEIC to JPG on Windows.
How to Convert HEIC to JPG on Windows
To convert HEIC to JPG on Windows, all we will need is the built-in Windows Photo App. The default windows photo viewer got an update in Build 17123, allowing it to view HEIC extensions. So before we continue, please make sure your Windows is up to date.
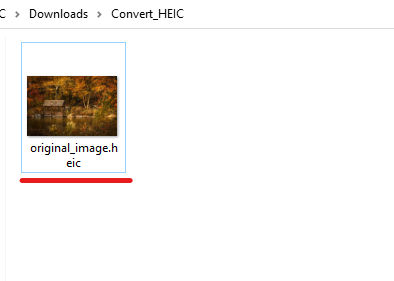
- Open your File in the Windows Photo Viewer
This should be your default photo viewer, which opens up when you double-click your image.
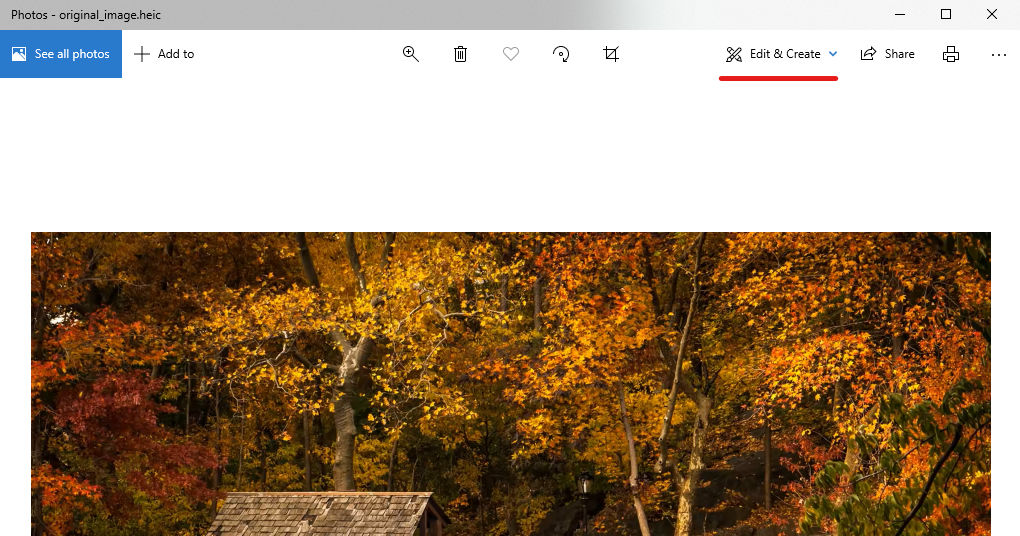
- Click Edit & Create
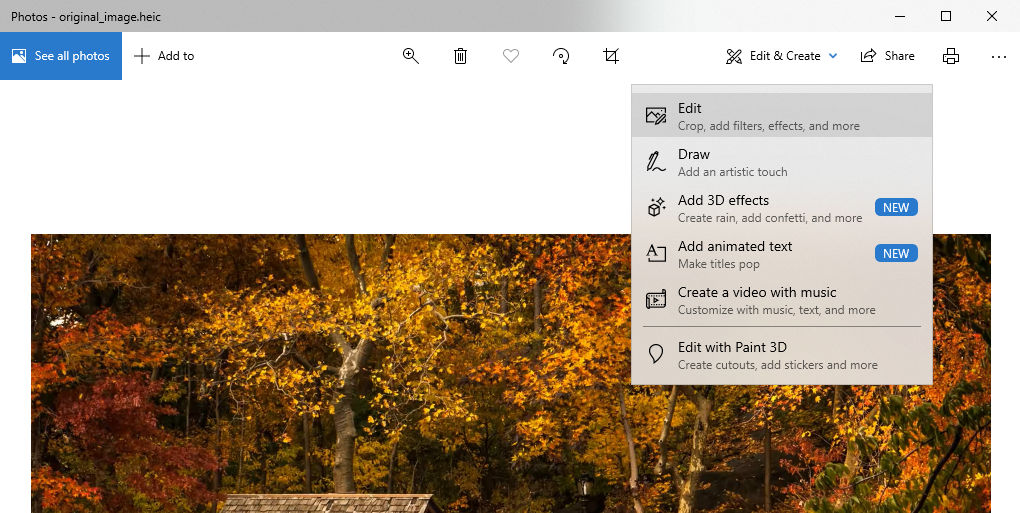
- Click Edit
- Click Save a Copy
We won’t actually be making any edits here. We are just using this screen to make the conversion. Of course, if there are some edits you would like to make, such as cropping, rotations, or filters, this would be the time to do it.

- Choose your Save Location

Your new file will be saved as a JPG file. The original HEIC is left intact as well and won’t be overwritten. Since both files will have different extensions, you can keep them in the same folder if you wish.
Using the Windows Photo viewer to convert HEIC to JPG is the most straightforward process. It requires no extra third-party software, and anyone can do it. However, suppose you want more control of the conversion or need the ability to perform bulk conversions. In that case, you may want to look into doing batch processes in a program like Adobe Photoshop.


