How to Fix Blurry Pictures in Photoshop
Do you have a blurry pic or photo you want to sharpen? Here’s how you can fix blurry pictures in Photoshop.

Photoshop is one of the best pieces of photo-editing software on the market. However, using it isn’t always straightforward unless you’ve had training. If you have a blurry picture you need to fix in Photoshop; we’ve got a simple solution that should take no more than five minutes. Keep reading to learn how.
How to Fix Blurry Pictures in Photoshop
To fix blurry pictures in Photoshop:
- Open the image you want to sharpen.
- Left-click your Layer in the Layers Window.
-
Hit ⌘+J or CTRL+J to duplicate your background layer.

-
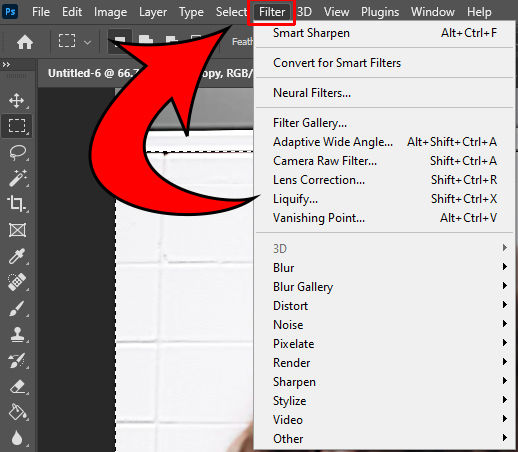
Select your Copy layer and click Filter at the top of Photoshop.
-
Hover over Sharpen.
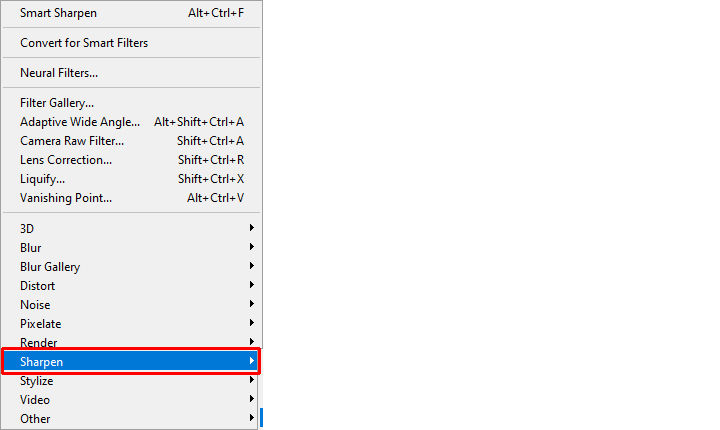
- Click Smart Sharpen
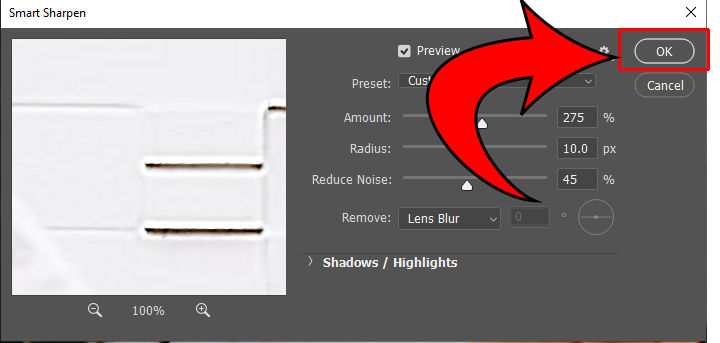
- Adjust the Amount to 275%.
- Adjust the Radius to 10 px.
- Change Reduce Noise to 45%.
-
Click OK.
- Click Image in the top toolbar.
- Hover over Adjustments.
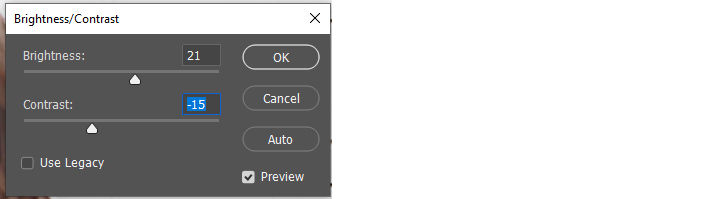
- Click Brightness/Contrast.
-
Move the sliders to adjust your image how you want and click OK.

Your blurry picture is sharpened! Continue experimenting with the different levels on your copy layer until your image reaches the crispness you want. You may wish to adjust the sliders depending on your image’s blurriness.
For more Photoshop guides, see our Photoshop Section.


