How to Install The Crew Add-on for Kodi
Learn how install the latest version of “The Crew” on Kodi.

Kodi is the ultimate open source entertainment hub. Its dedicated community has used it for years to organize and play media across multiple platforms, including Windows, iOS, Android, and Linux. The base software comes with an ecosystem of hundreds of different add-ons and plugins. One increasingly popular video plugin is “The Crew.” Here is how to install The Crew add-on for Kodi.
How to Install The Crew Add-on for Kodi
Installing an add-on in Kodi requires multiple steps. The most important of which is using the latest repo URL. You will want to make sure that the repo URL is active and is compatible with your version of Kodi. Luckily we keep this article up to date with the latest “The Crew” repo information.
Current “The Crew” Repo:
Compatible with:
- Kodi 19 Matrix
- Kodi 18 Leia
Enable Downloads from Unknown Sources
If you’ve installed add-ons previously, you may have already completed this step. If so, you can skip ahead to adding The Crew source.
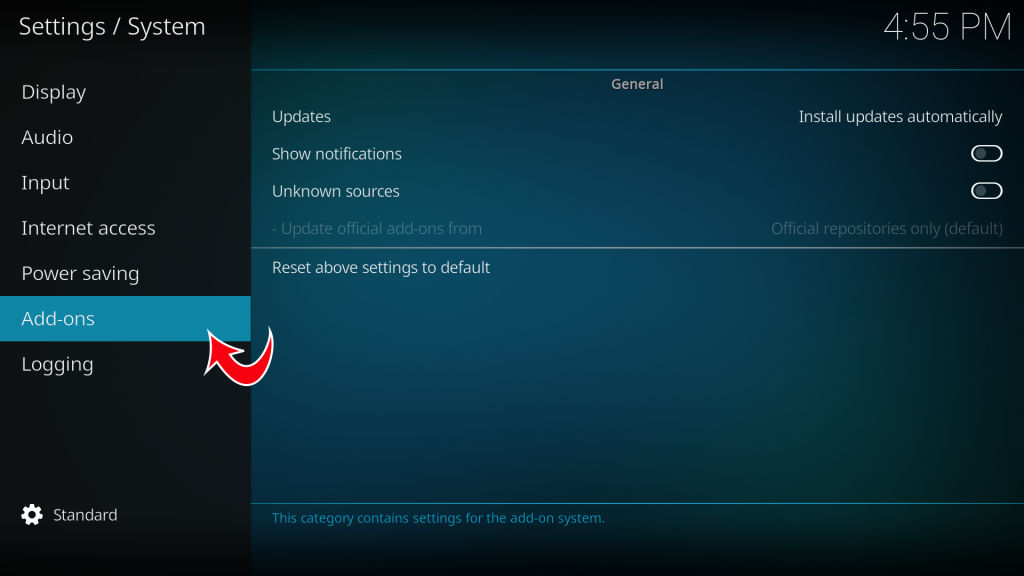
- Go to “Settings”
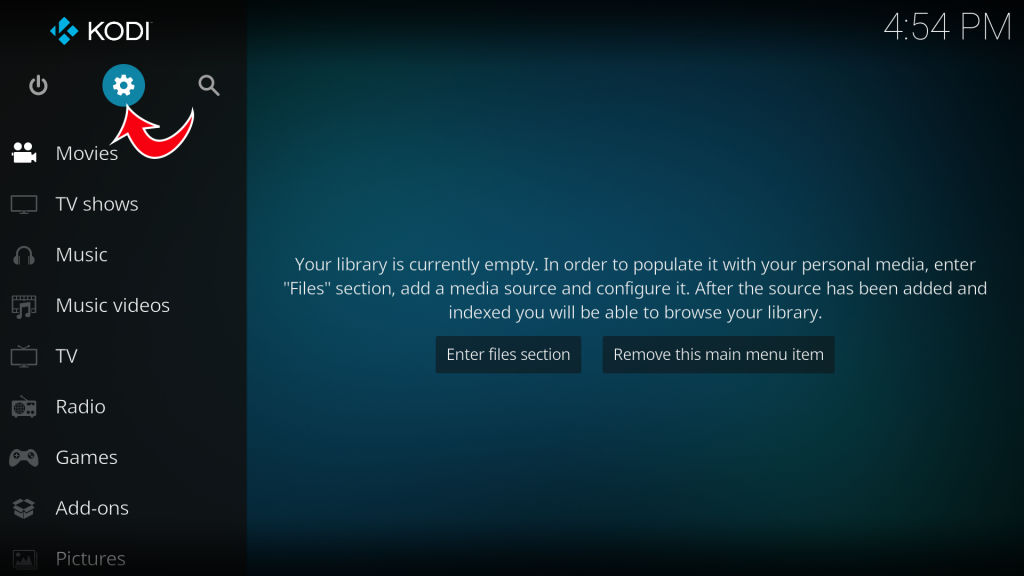
- Tap on “System”
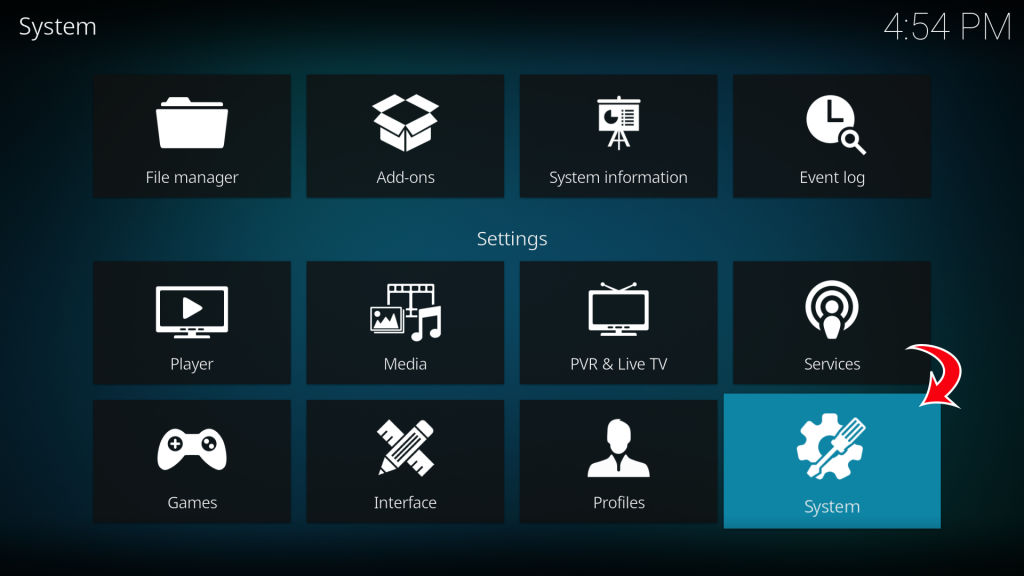
- Tap on “Add-ons” on the left sidebar
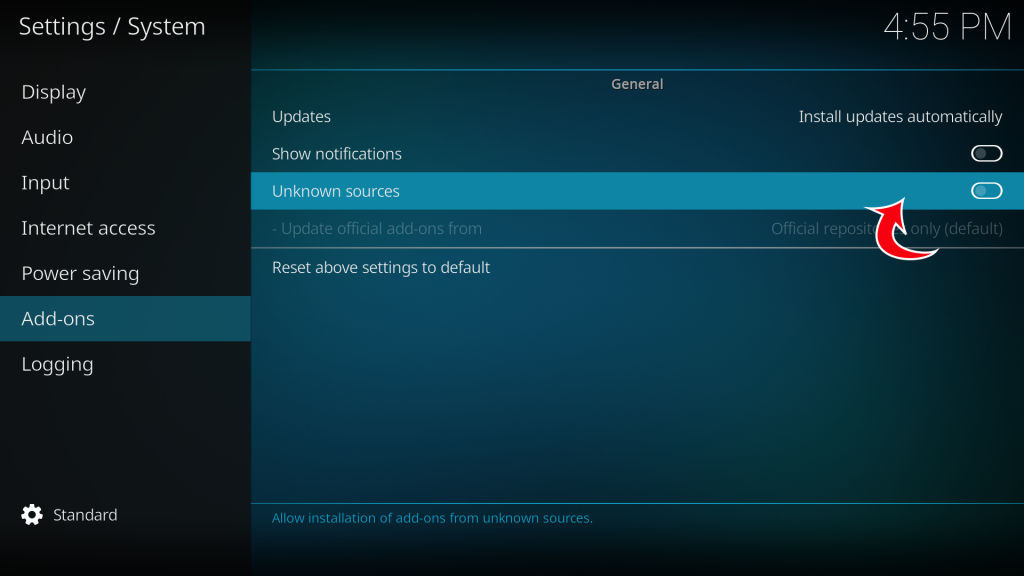
- Toggle “Unknown Source” to enabled
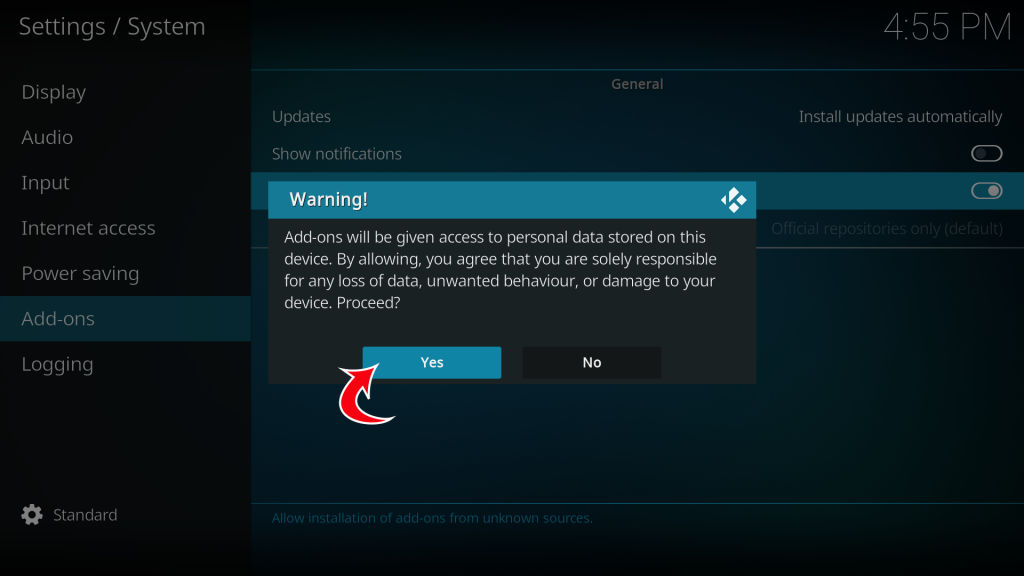
- Tap “Yes” on the warning prompt
- Return to the home screen by hitting ESC or Backspace
Now that you’ve enabled downloading from unknown sources, you’re ready to set up a source for The Crew and get it downloaded.
Add The Crew Source
The following steps will add the repo source into Kodi, from which you can then install the repo.
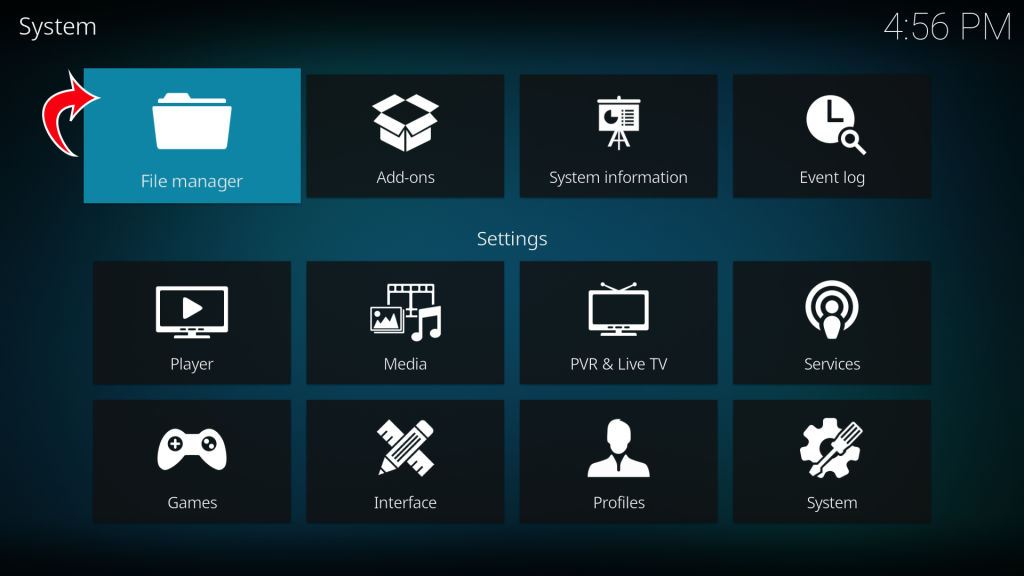
- Go to “Settings”
- Tap on “File Manager”
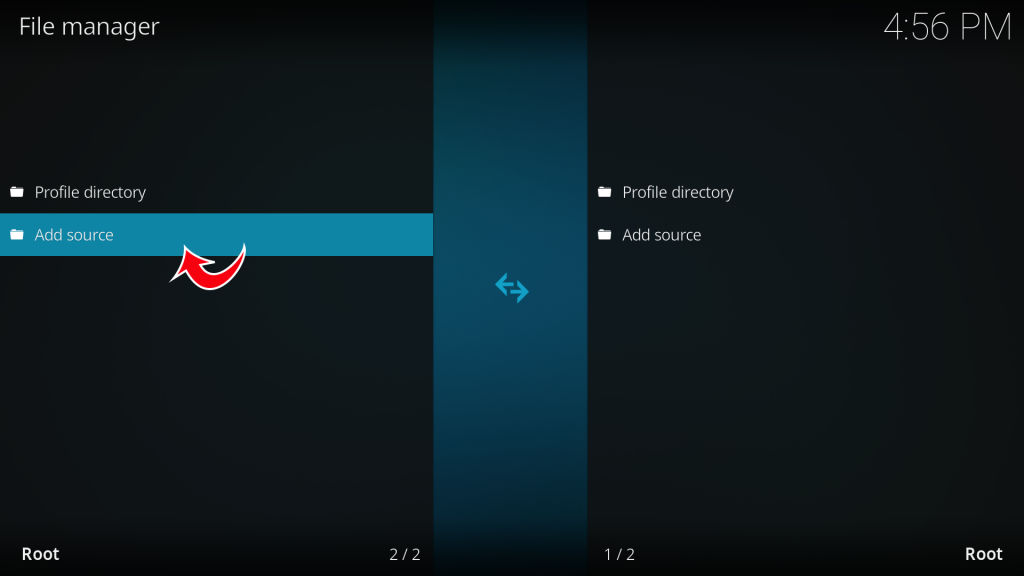
- On the left, tap “Add Source”
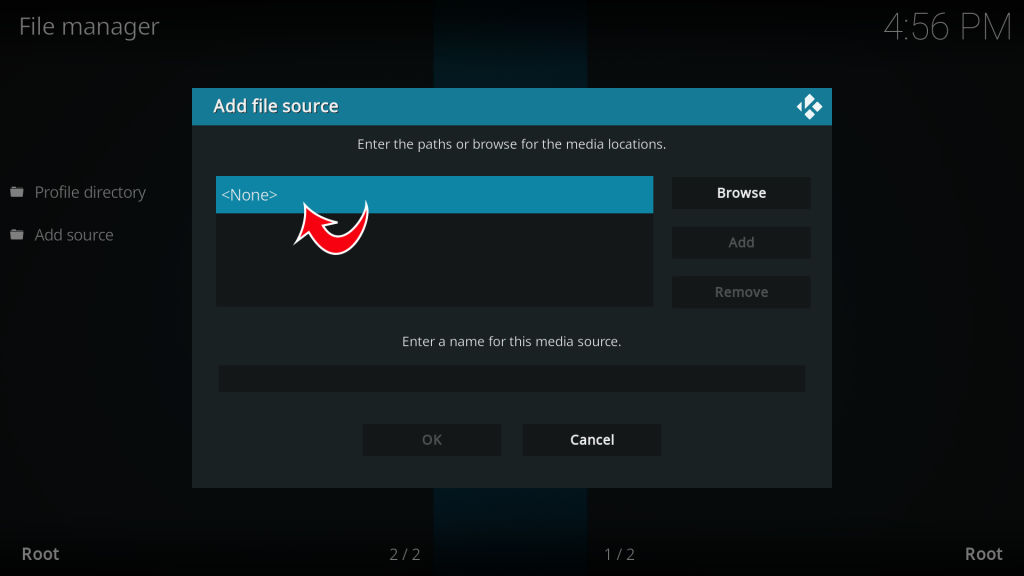
- Tap on “<None>” in the path box
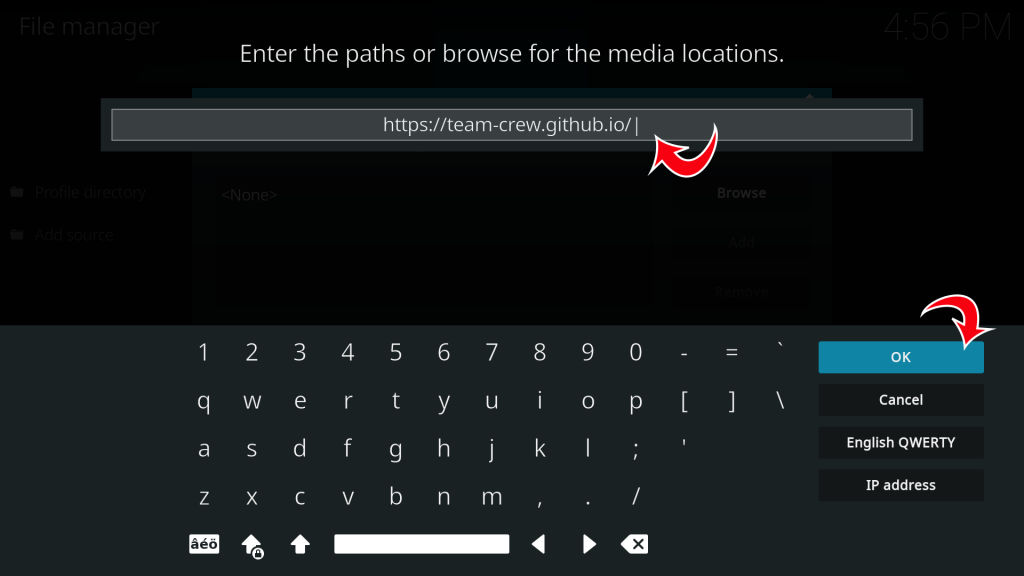
- Type in the following URL https://team-crew.github.io/ and tap OK
- Type “TheCrew” (or whatever name you prefer) into the name box at the bottom and tap OK
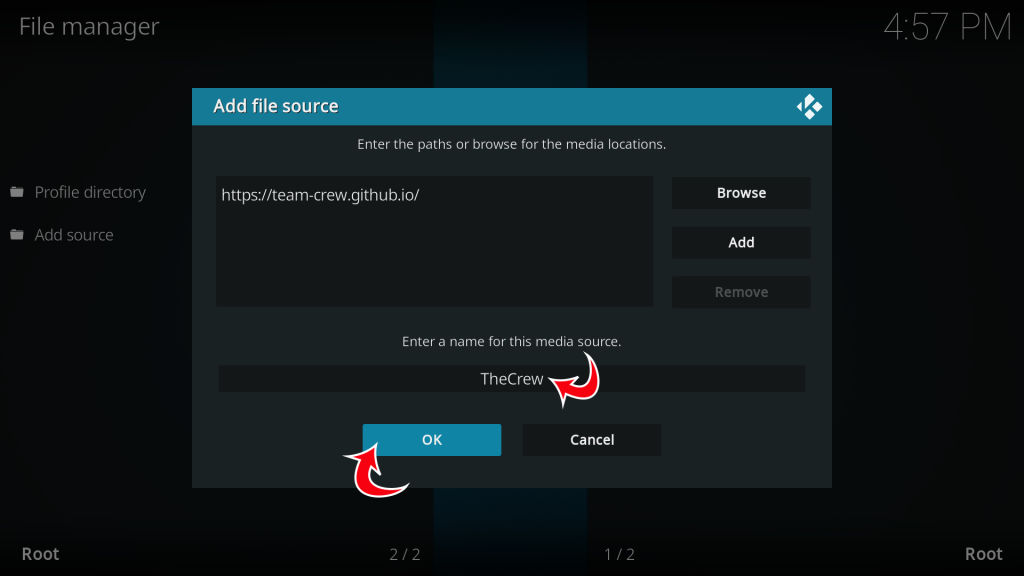
You now have a source added where you can install The Crew repository from.
Install The Crew’s Repo
The following steps will install the repo into Kodi, from which you will be able to install the video add-on.
- Go to “Settings”
- Tap on “Add-ons”
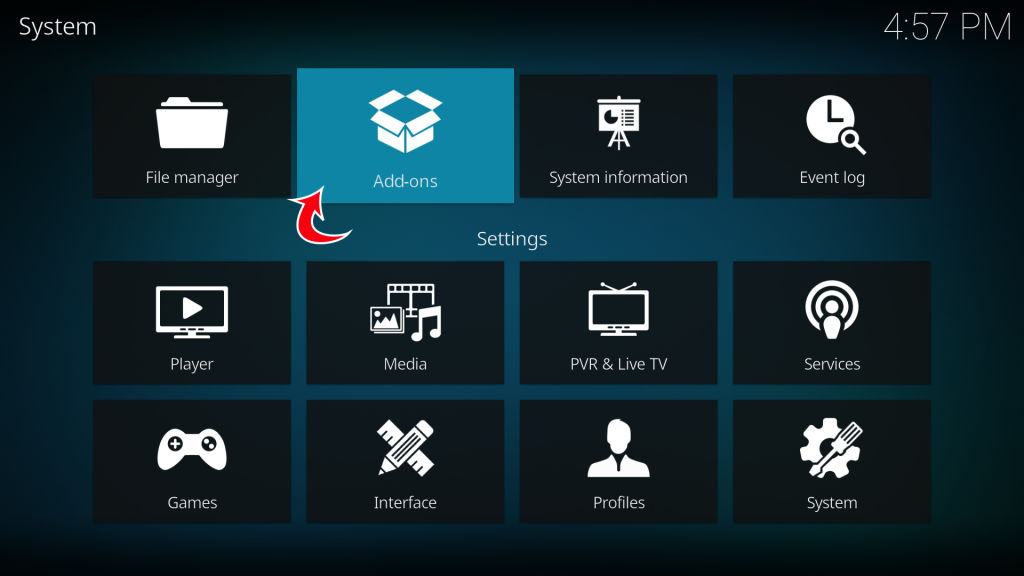
- Tap on “Install from ZIP file”
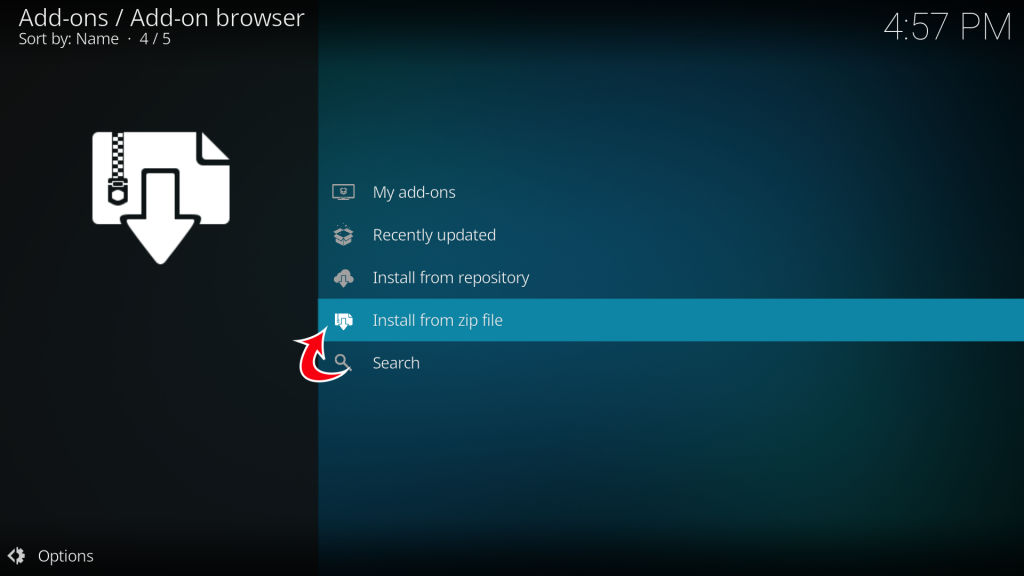
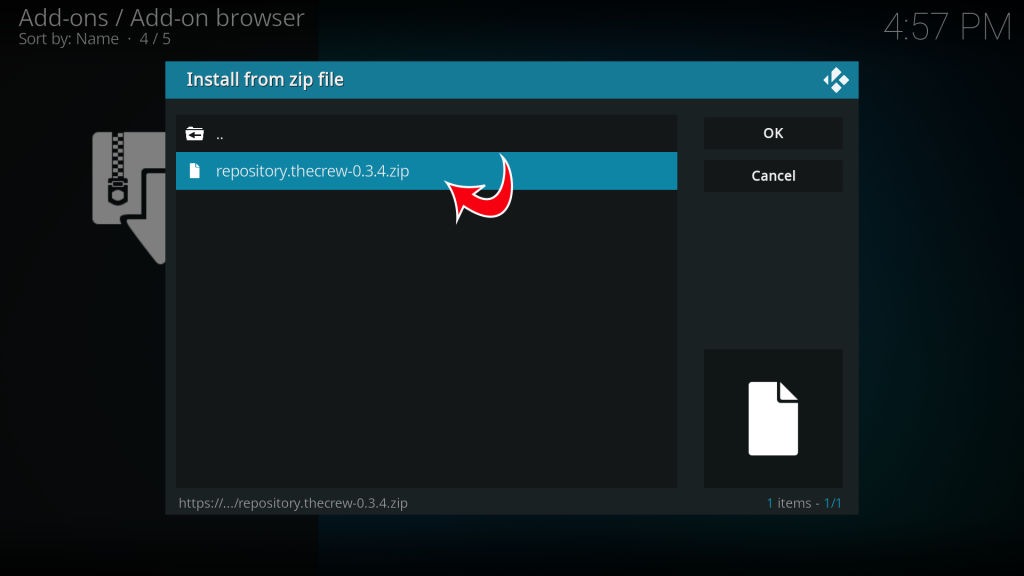
- Tap on “TheCrew” source (or whatever you named it in the previous step)

- Tap on the ZIP file for the latest repository, then tap OK
Once the repository is installed, you are ready to finally install the add-on.
Install The Crew Add-on
These final steps will install The Crew Add-on into the video add-ons section of Kodi.
- Go to “Settings”
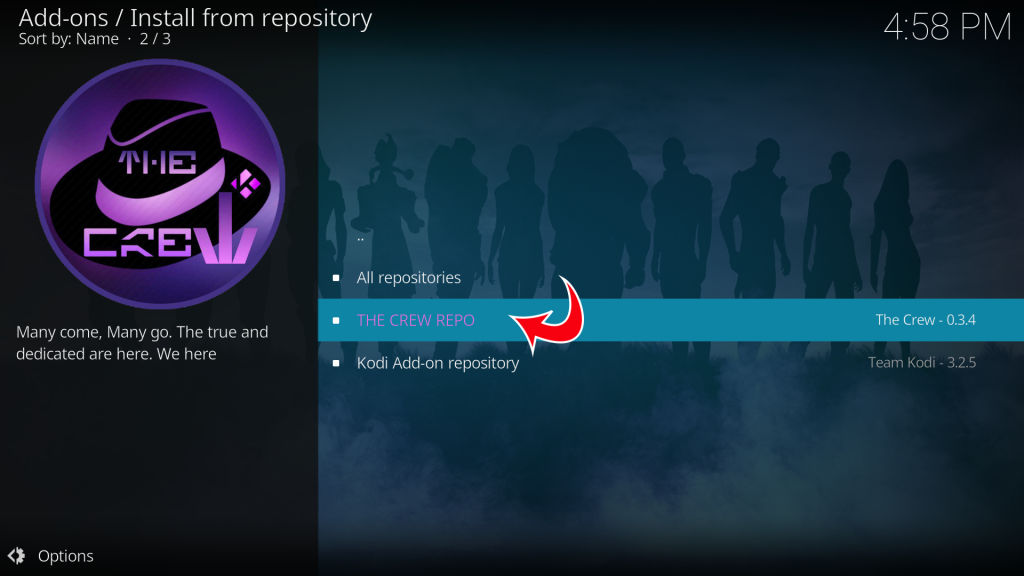
- Tap on “Install from repository”
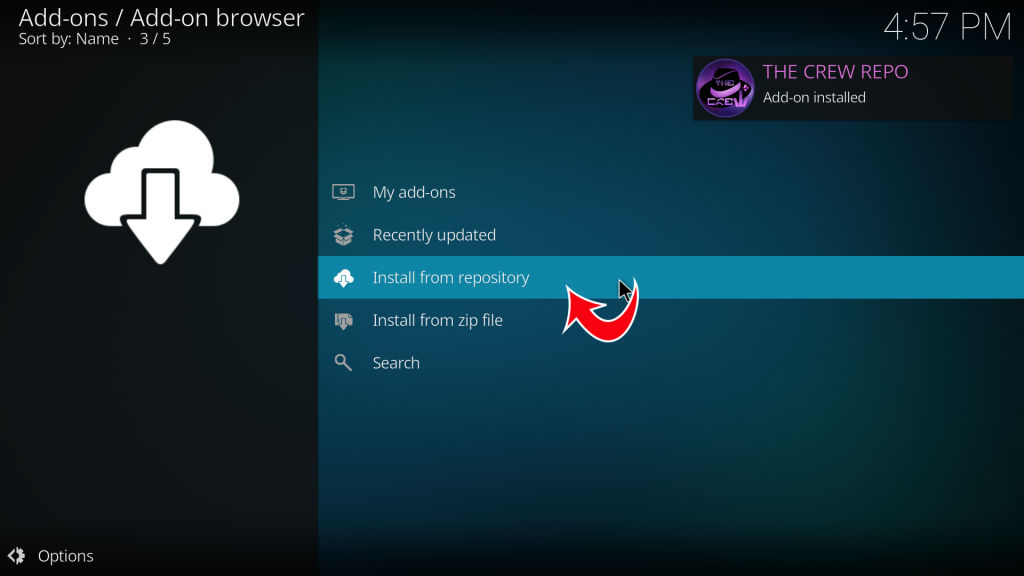
- Tap on “THE CREW REPO”
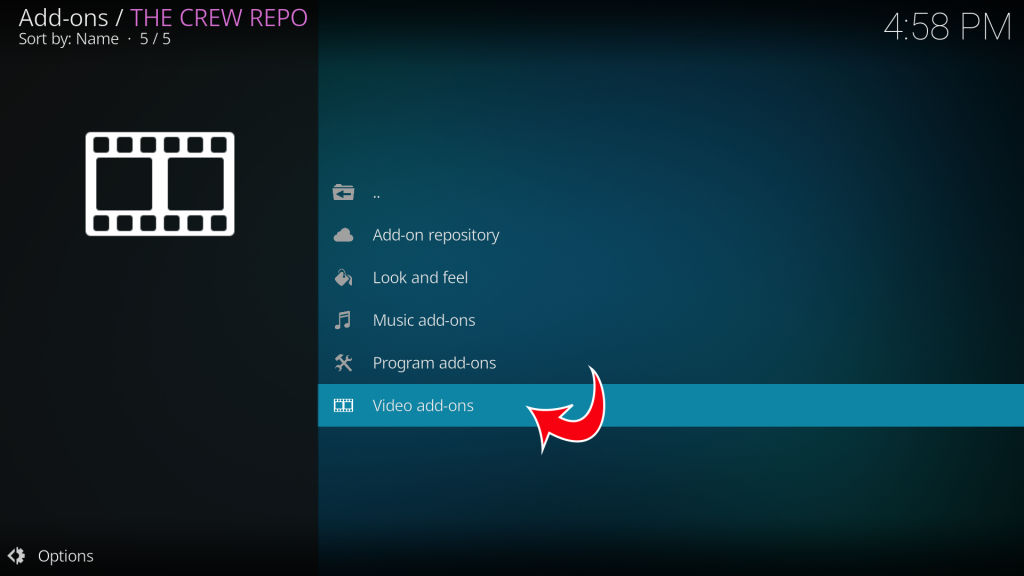
- Tap on “Video add-ons”
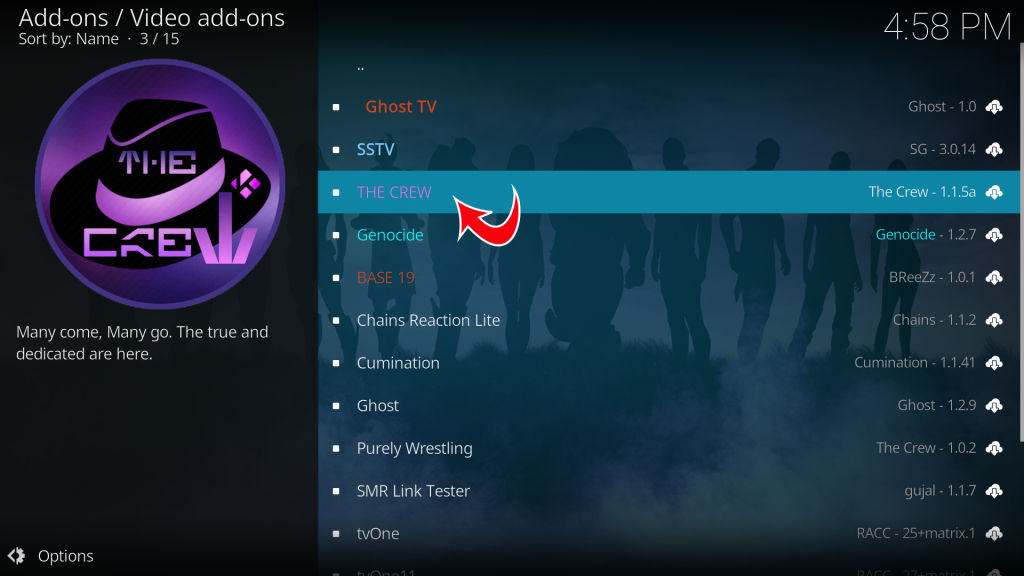
- Tap on “THE CREW”
- Tap on “Install”
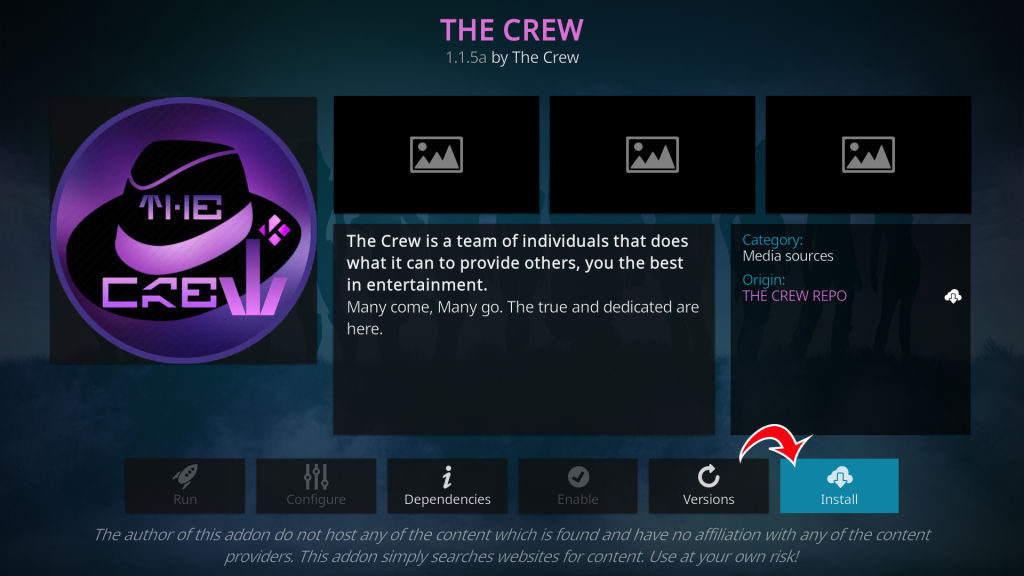
- Tap “OK” on the additional add-ons prompt
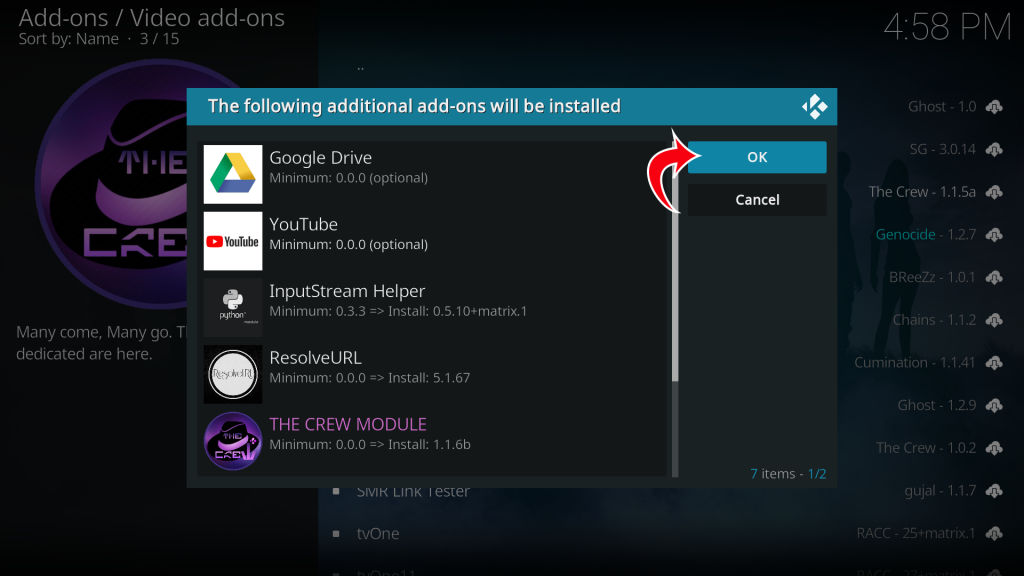
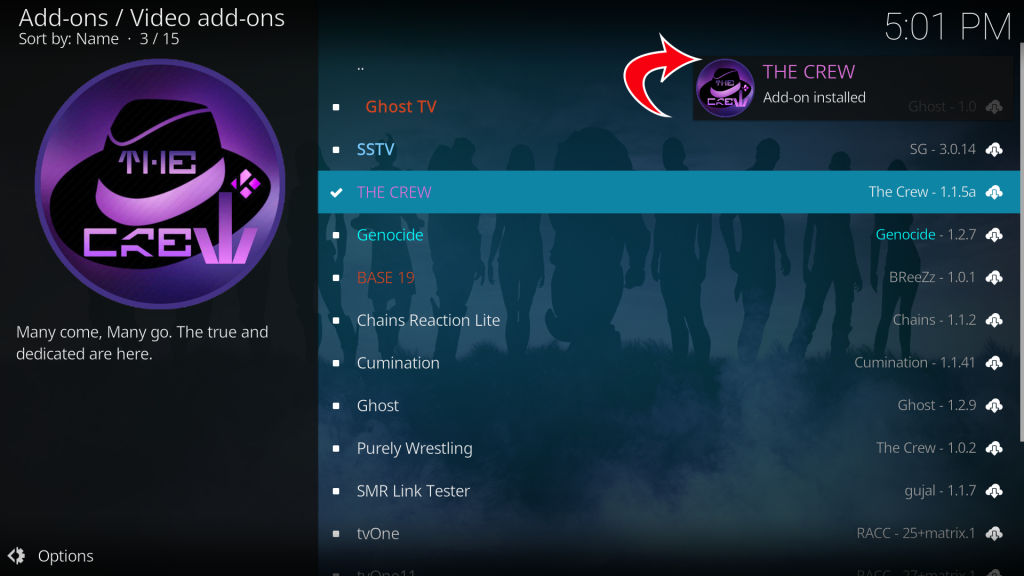
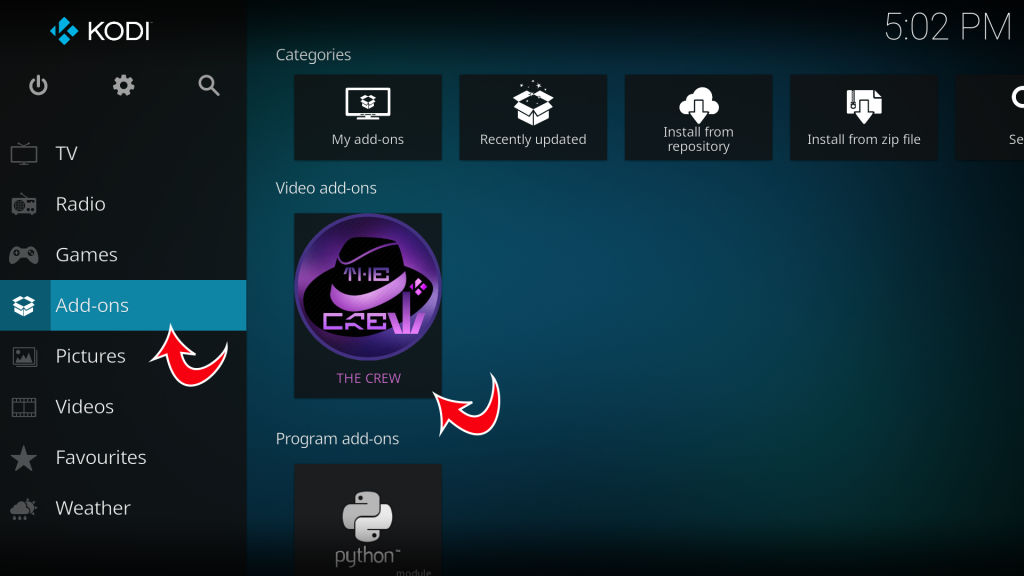
This step may take some time. The repository will begin installing multiple dependencies, and it might take a few minutes to complete. In the end, you will get a notification at the top right that “The Crew” has been installed. To open The Crew, head back to the main menu screen and select “Add-ons” from the sidebar and then “The Crew.“
Now that you learned how to install The Crew add-on for Kodi, you can use the same steps for many other plugins. All you need to do is exchange the proper repo URL when adding the source.